Overview
Datasette is an instant JSON API for your SQLite databases allowing you to explore the DB and run SQL queries in a more interactive way.
You can find a list of example datasettes here.
The Datasette Ecosystem
There are all sorts of tools for converting data to and from sqlite here. For example, you can load shapefiles into sqlite, or create Vega plots from a sqlite database. SQLite works well with R, Python, and many other tools.
Example Datasette
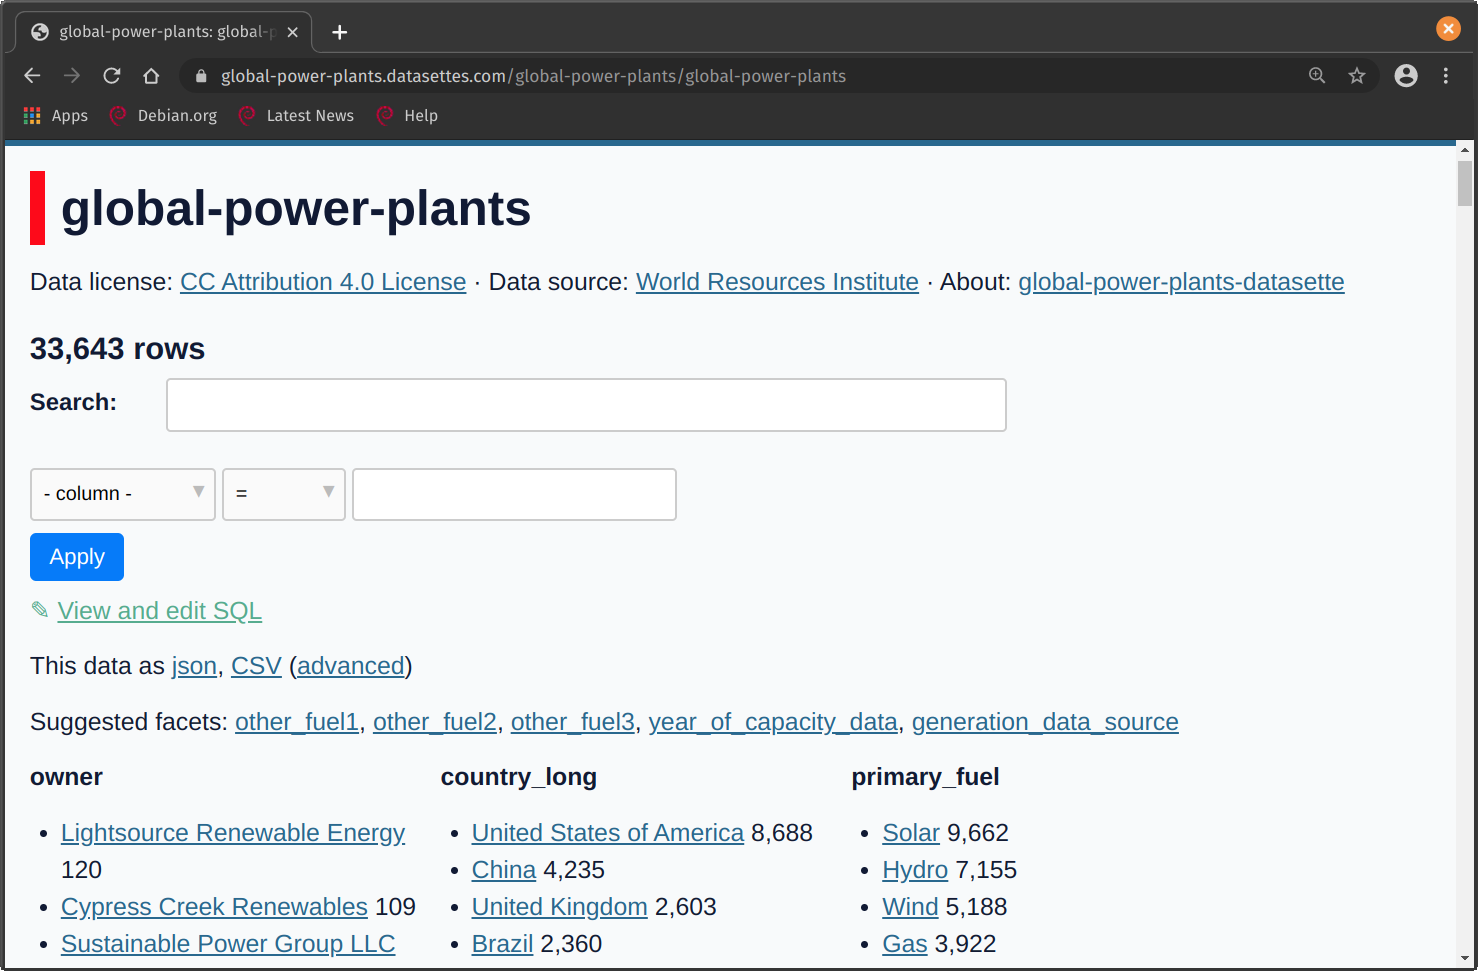
Below are some screenshots from the global-power-plants Datasette, you can preview and explore the data in the browser, either with clicks or SQL queries.
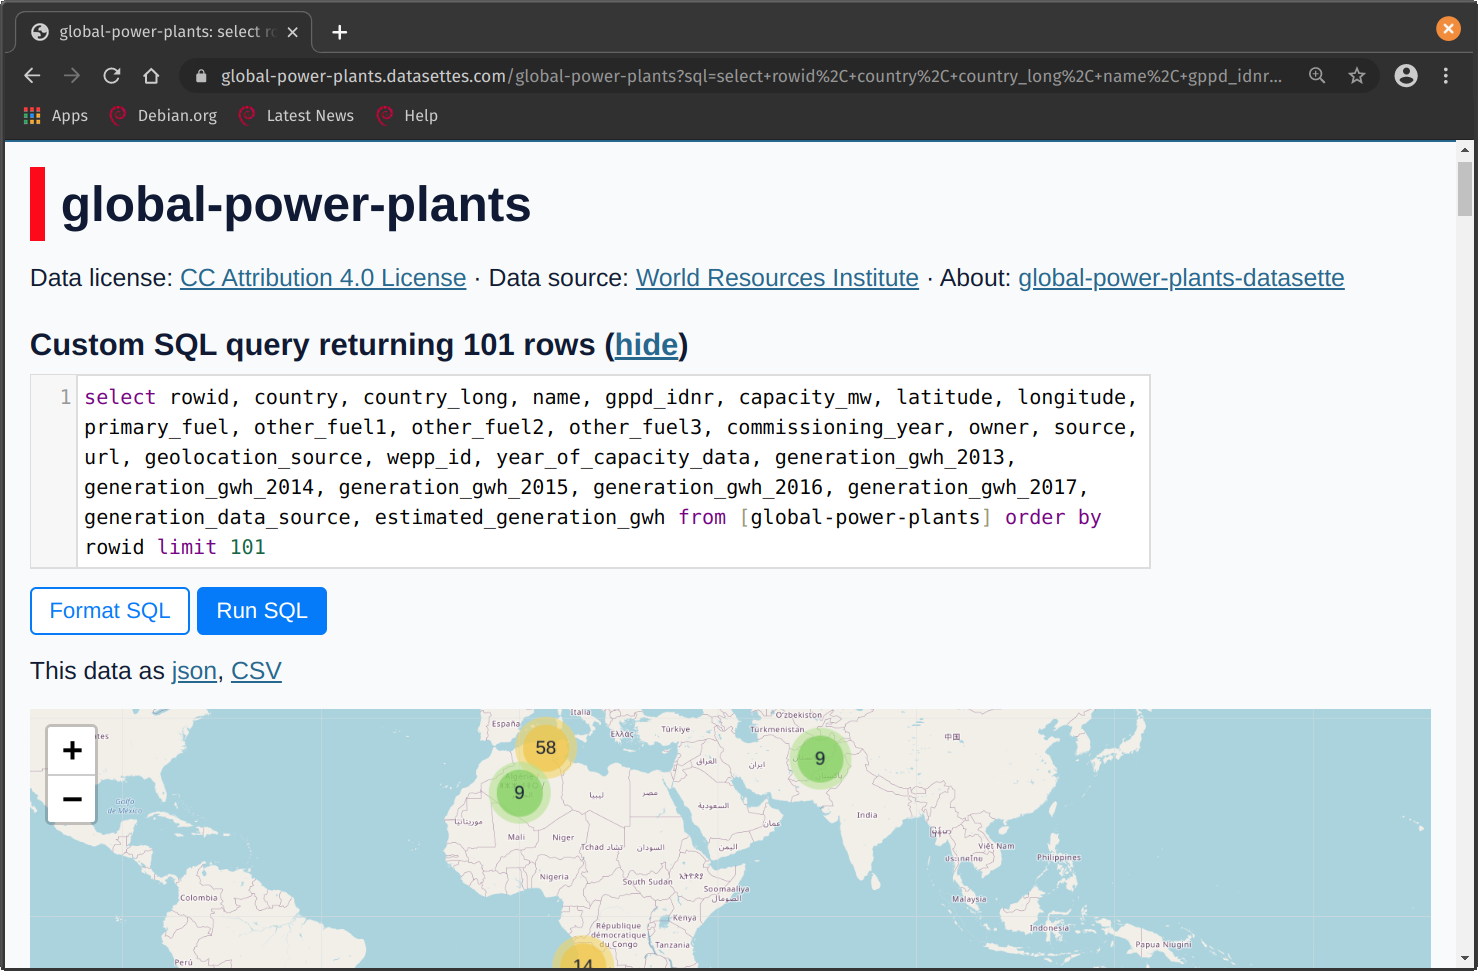
You can even explore maps within the tool!
Getting Started
Installing Datasette
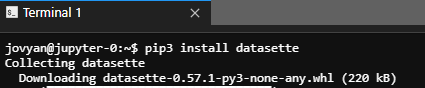
In your Jupyter Notebook, open a terminal window and run the command pip3 install datasette.
Starting Datasette
To view your own database in your Jupyter Notebook, create a file called start.sh in your project directory and copy the below code into it. Make the file executable using chmod +x start.sh. Run the file with ./start.sh. Access the web server using the base URL with the port number you are using in the below file.
start.sh
#!/bin/bash

# This script just starts Datasette with the correct URL, so
# that you can use it within kubeflow.

# Get an example database
wget https://github.com/StatCan/aaw-contrib-r-notebooks/raw/master/database-connections/latin_phrases.db

# If you have your own database, you can change this line!
DATABASE=latin_phrases.db

export BASE_URL="https://kubeflow.covid.cloud.statcan.ca${JUPYTER_SERVER_URL:19}proxy/8001/"
echo "Base url: ${BASE_URL}"
datasette $DATABASE --cors --config max_returned_rows:100000 --config sql_time_limit_ms:5500 --config base_url:${BASE_URL}
Check out this video tutorial
One user of the platform used Datasette along with a javascript dashboard. See this video for a demo.
Running your Notebook Server and accessing the port
When running any tool from your Jupyter Notebook that posts a website to a port,
you will not be able to simply access it from http://localhost:5000/ as
normally suggested in the output upon running the web-app.
To access the web server you will need to use the base URL. In your notebook terminal, run: